
Step 1: Decide how much of your name to sign
You have four options: full name, initial + surname, first name only, or initials only.
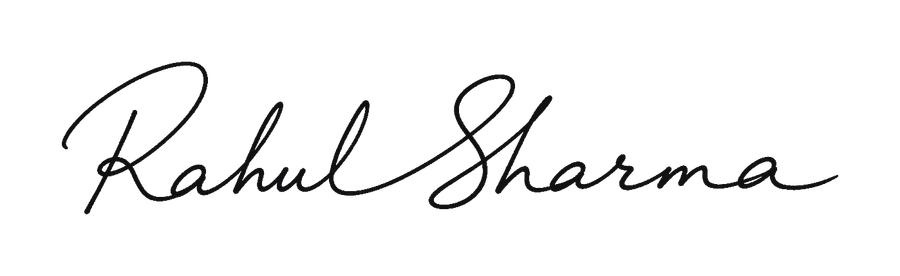
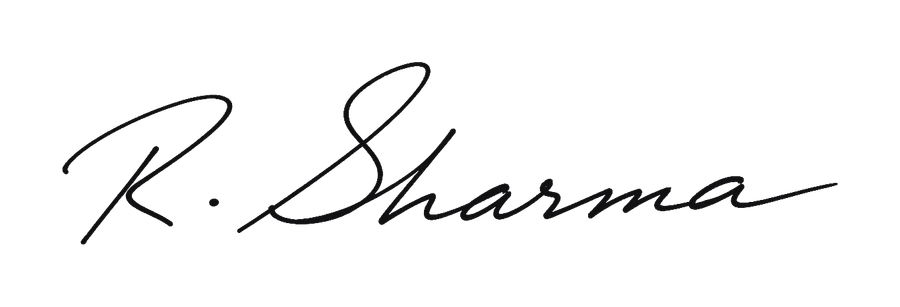
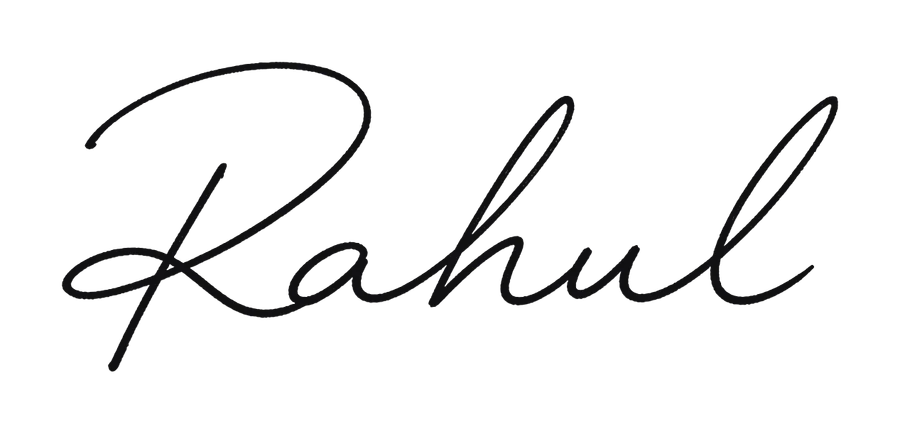
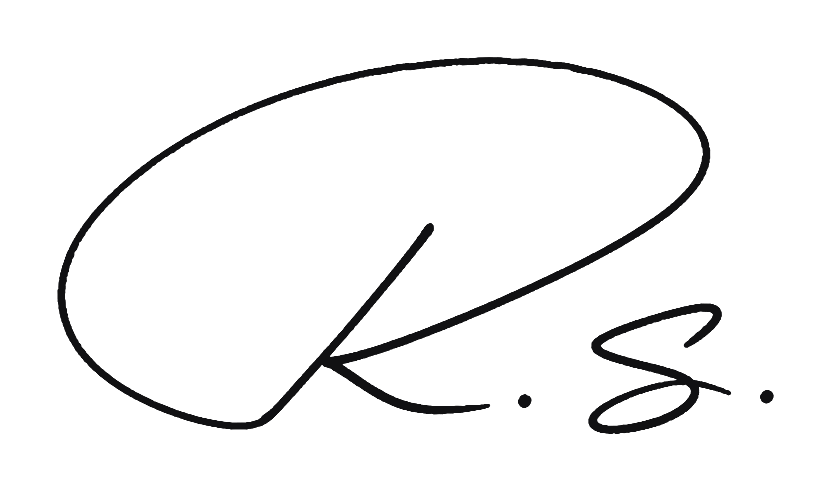
For official documents, full name or initial + surname is the safest. Long names (more than about 14 letters) usually look better as initial + surname. More on this in initials or full name?
Step 2: Design a strong first letter
The first capital is the "face" of your signature. Make it 1.5 to 2 times taller than the other letters and give it one distinctive feature: a loop, a long entry stroke or an angular top. Try 10 versions on paper and keep the one you can repeat.
Step 3: Choose a style
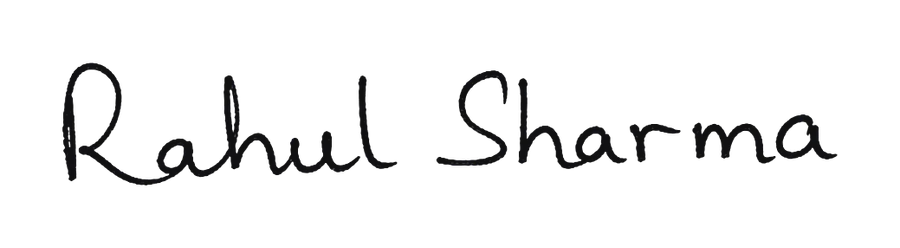
Classic (readable), flowing (smooth joined letters), bold (big capitals, heavy strokes), artistic (loops and flourishes) or compact (short and fast). See all five with examples on our signature ideas page.
Step 4: Join the letters in one movement
A good signature is written without lifting the pen more than once or twice. Join the letters after the first capital into one flowing line. You don't need every letter to be readable; the first letter and the rhythm matter more.
Step 5: Keep one slant
Lean all letters the same way, slightly forward or upright. Mixed slants are what make most signatures look messy.
Step 6: Finish it
End with an underline, a forward stroke or a long tail on the last letter. Avoid a dot after the name and a line through the letters: they look untidy, and Indian tradition advises against both (see signature astrology rules).
Step 7: Practise it for 7 days
Sign it 20 times a day for a week: trace it first, then copy it, then sign from memory. Only register it with your bank once it looks the same every time.

Common mistakes
- Copying a font from a signature generator: it looks printed and is hard to write fast.
- Too many loops: beautiful once, impossible to repeat.
- Making it so stylised that it changes every time, which leads to cheque and KYC rejections.
- Changing your signature without updating your bank and ID records.